GSAS Project Ordering Guide
A step-by-step guide to placing orders, attaching payment proof, and activating your GSAS Projects.
Place an Order
To place an order for the GSAS Project service, follow the steps outlined below:
Steps to Place Order:
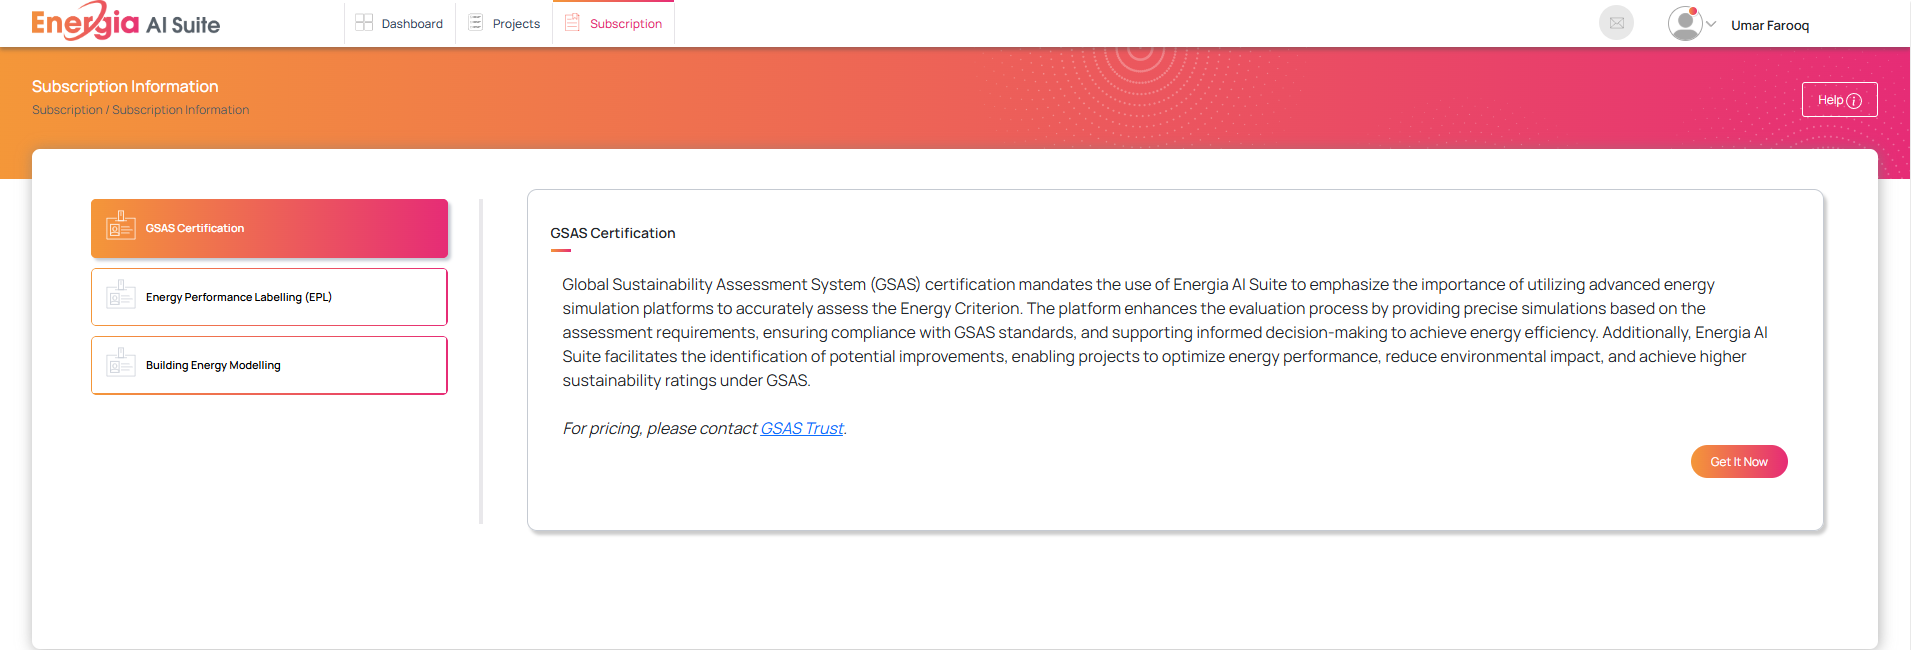
- Navigate to the Subscription Page
- Visit the Subscription Page at the top menu bar to begin the process.
- Select the Service Type
- From the left-side menu, choose the “GSAS Project” service type to proceed.
-
Click the “Get it Now” Button
- After selecting the service type, click the “Get it now” button to move forward with your order (see above image for reference).
-
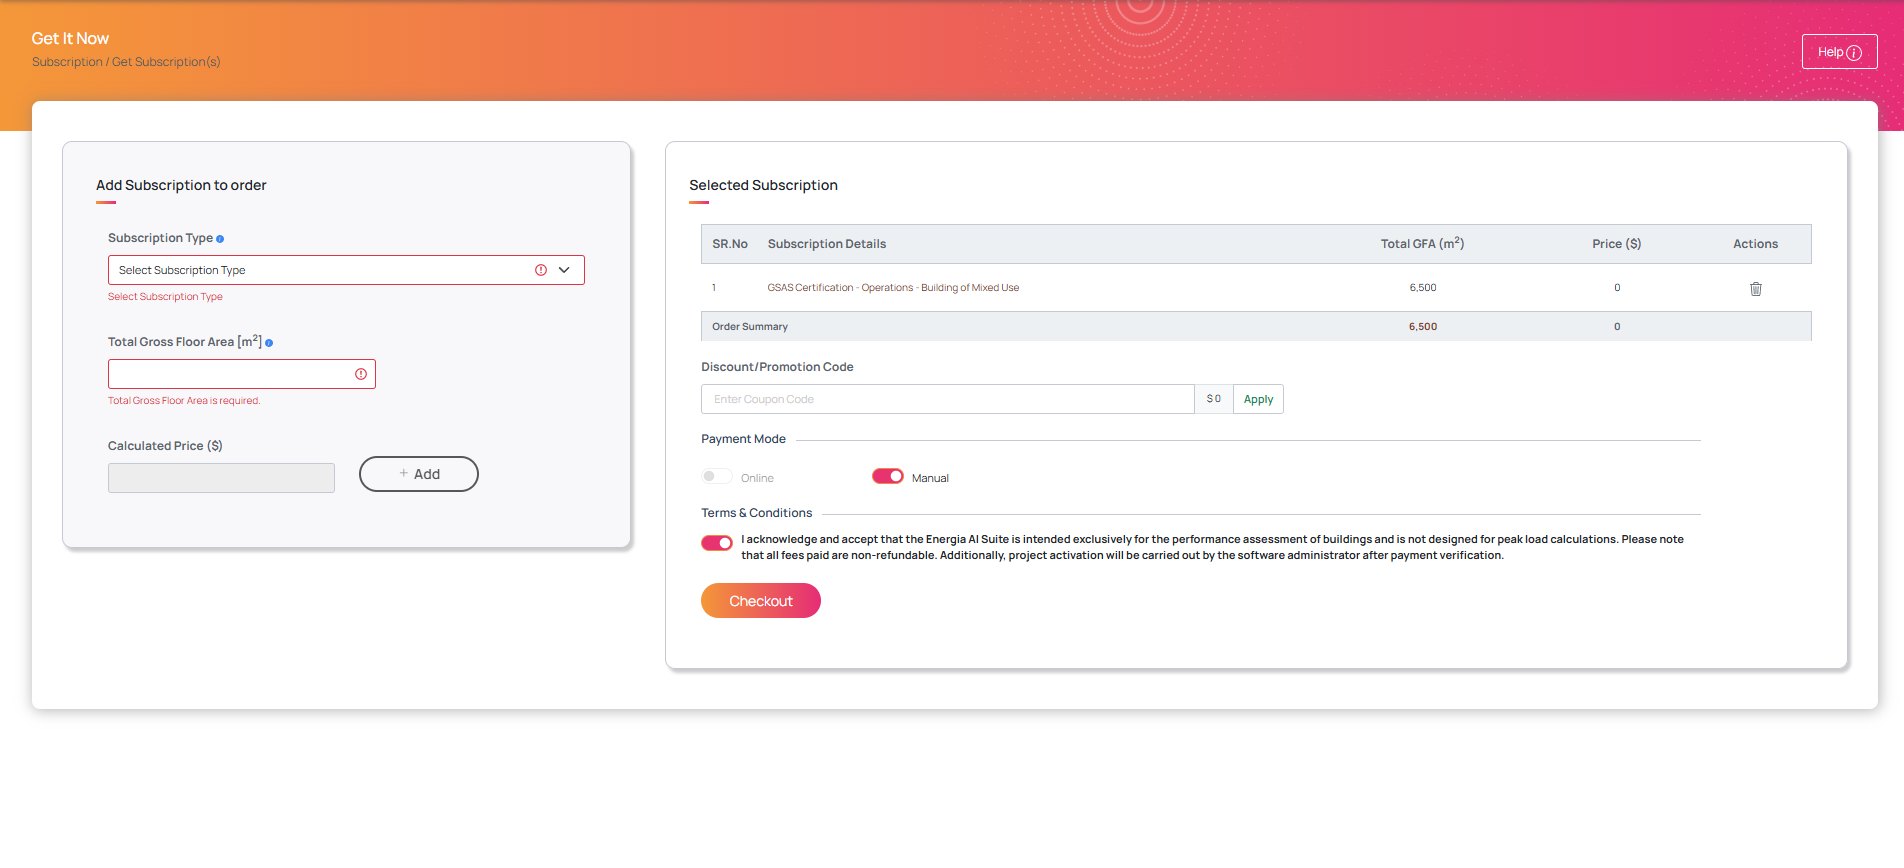
Select the Subscription Type
- Select the subscription type from the drop-down menu.
-
Choose the Project Stage
- Select the project stage of your project from the available options (e.g., Design & Build).
-
Choose Building Classification
- Choose the building classification that best describes your project (e.g., Single use, Mixed use).
-
Enter Total Gross Floor Area
- Input the Total Gross Floor Area of your project to proceed.
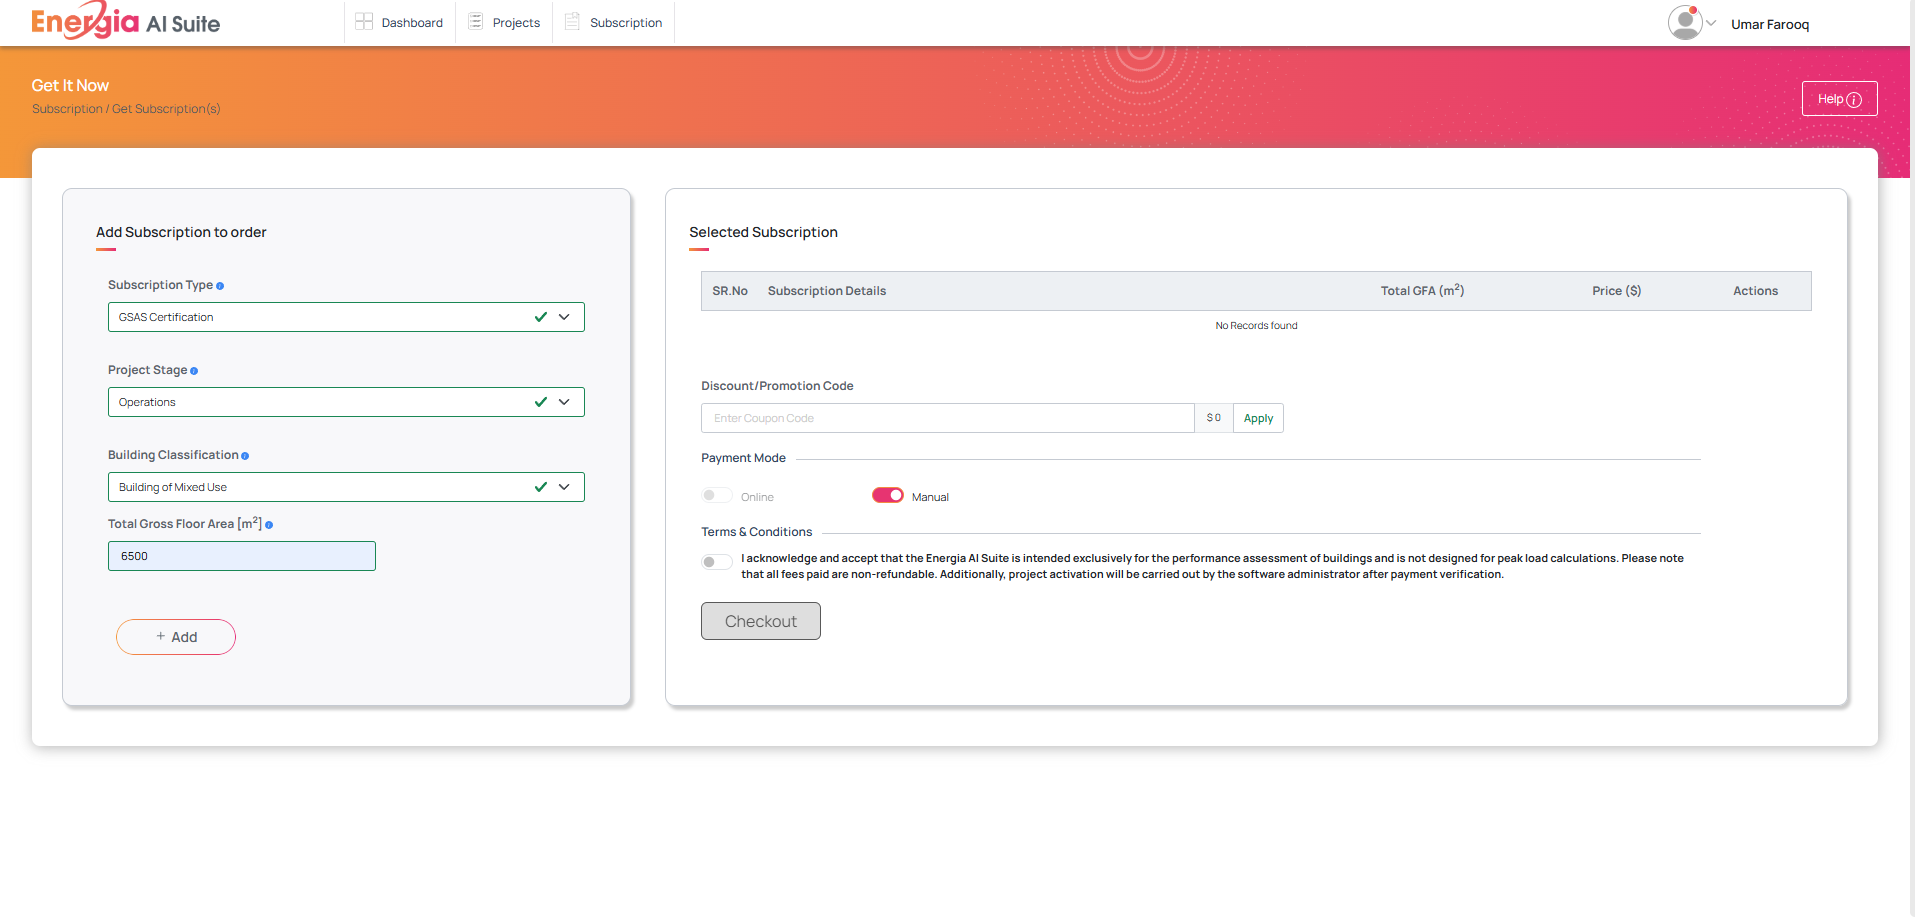
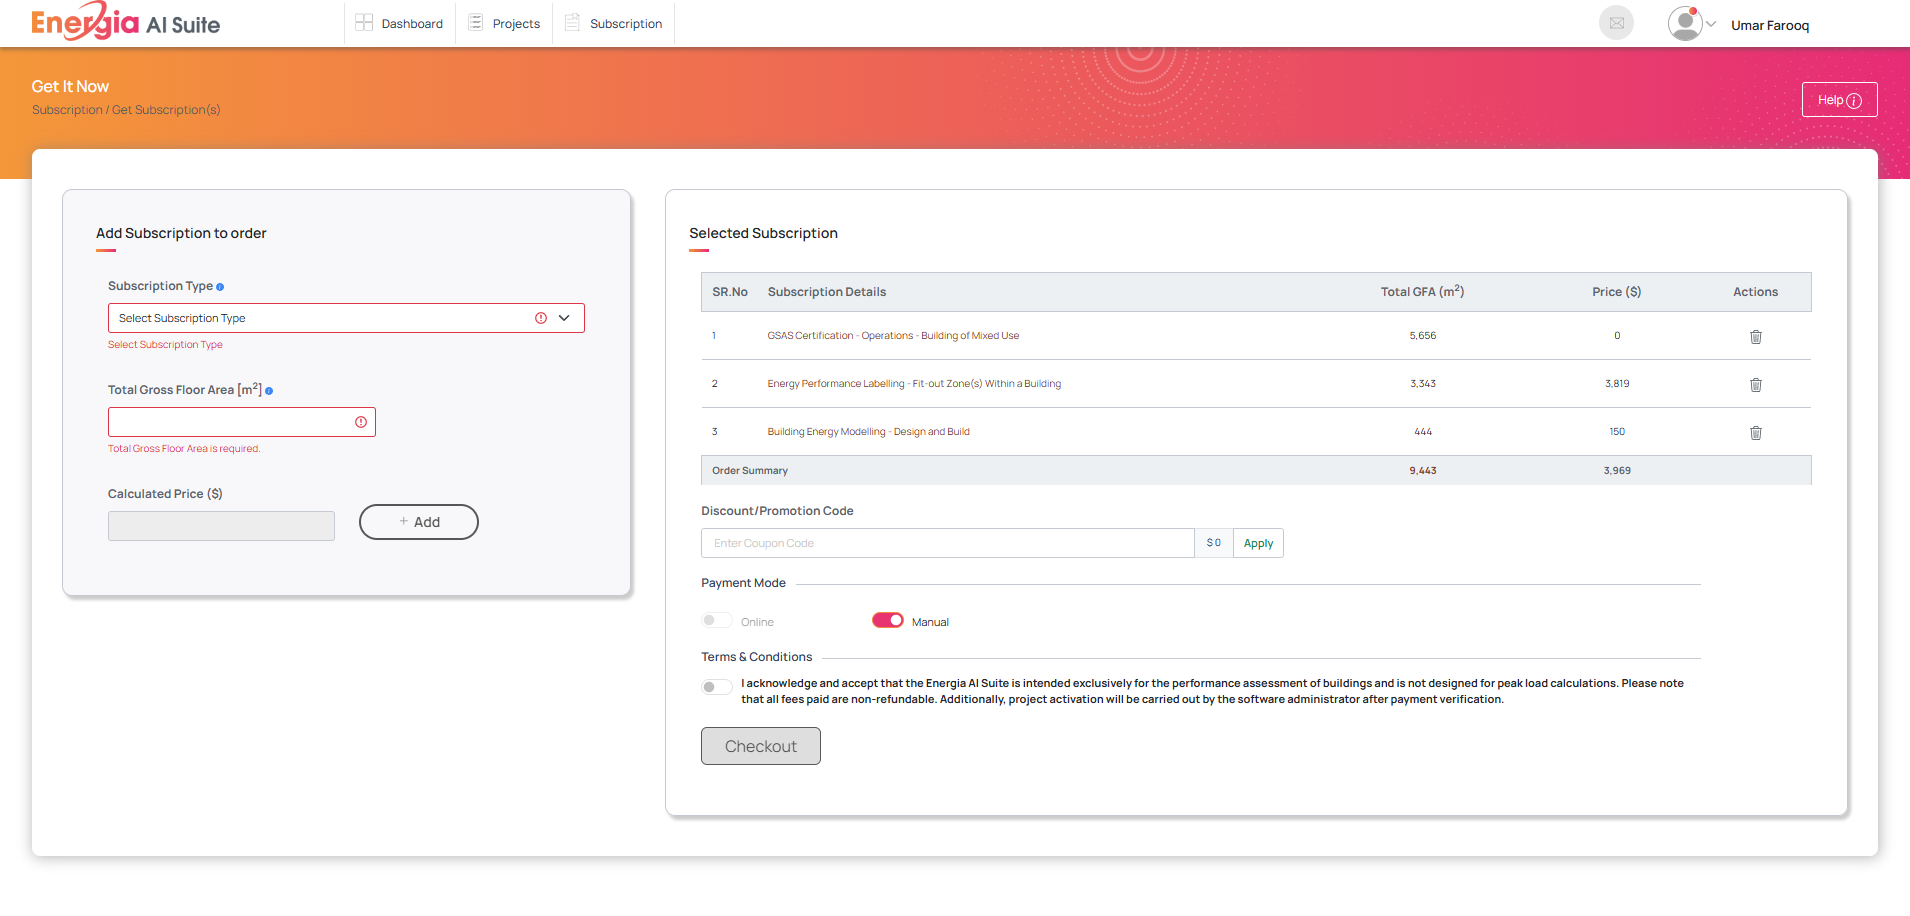
- Add Project to Your Order
- Click the “Add” button to add the project details to your order. Please keep in mind you can place multiple orders at a single time just as shown below.
-
Manual Payment Only
- Please follow the attach payment proof guidelines below as online payment mode is not available for GSAS projects.
-
Accept Terms and Conditions
- Review the Terms and Conditions for the service and accept them to proceed.
-
Proceed to Checkout
- Click “Checkout” to finalize your order and complete the purchase.
Attach Payment Proof
Once your order for the GSAS Project is placed, the next step is to attach your payment proof. This ensures that your transaction is successfully recorded and processed. Follow these steps to complete the process:
Steps to Attach Payment Proof:
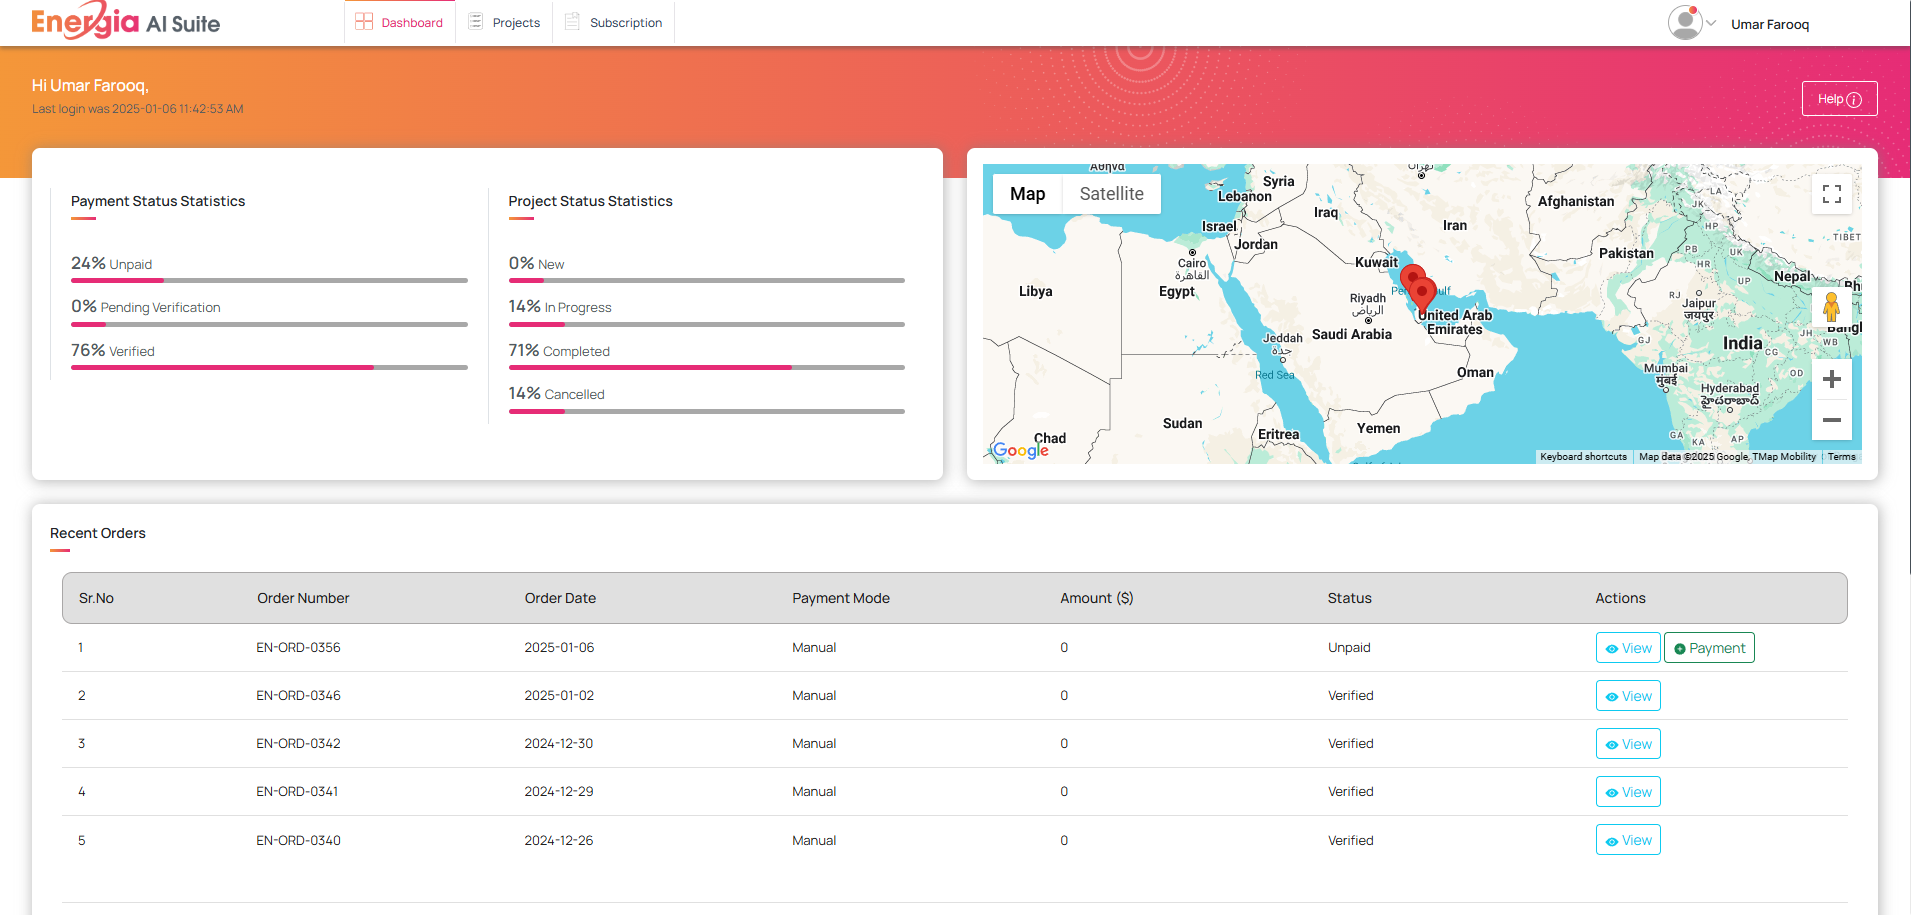
- Go to the Dashboard Page
- Navigate to your Dashboard where you can see all your orders, including the recently created one for the GSAS Project.
-
Click the Payment Button for Your Recent Order
- Find the GSAS Project order you just placed and look for the payment button associated with that order.
- Click the button to proceed to the payment section.
-
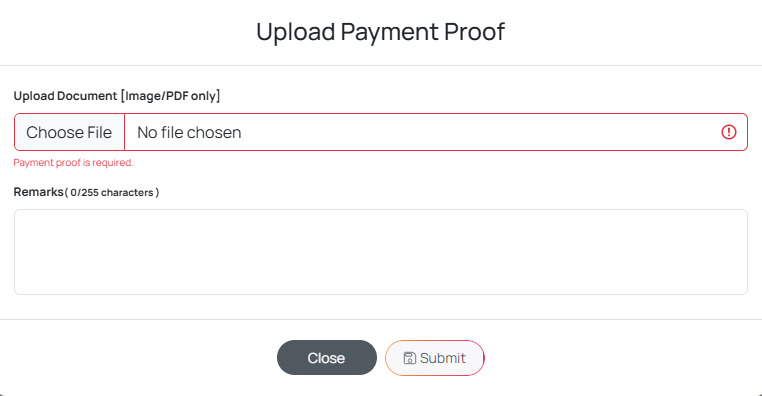
Attach Payment Proof
- Attach the receipt or any proof of payment for your GSAS Project. This can be in the form of a digital receipt, bank transaction screenshot, or any other payment verification document.
-
Add Remarks (Optional)
- If you have any specific remarks or additional details to provide regarding the payment, you can include them in the remarks section. This is optional but can help clarify any special instructions or notes related to the payment.
-
Click “Submit”
- Once the payment proof is attached and remarks (if any) are added, click the “Submit” button to finalize the payment submission process.
Admin Activation
Once you’ve submitted your payment proof, the next step is the admin activation of your GSAS Project. The admin will review the details and activate your project. Here’s how it works:
-
Admin Review
- After you’ve submitted your payment proof and remarks, the admin will review the submitted details for your GSAS Project order.
-
Project Activation
- Once the admin has reviewed everything, your project will be activated. This marks the official start of your project under the GSAS Project service.
-
Email Notification
- You will receive a notification via email once your project has been successfully activated. This confirms that your project is now live and ready for further processing.